Hello, hello, hello, girls! I know we don’t have a Halloween tradition here in Brazil (damage!), but it’s all an excuse for a different nail art, isn’t it?!I love Halloween and for me we would celebrate it at least 3 times a year!Heheheing I think it’s great to be able to get dressed! We still have celebrations in English classes and ballad costume parties here, don’t we?I decided to do an inspired tutorial (ok, really copied!) At s simplenailartdesigns’s. Are we going to do it?
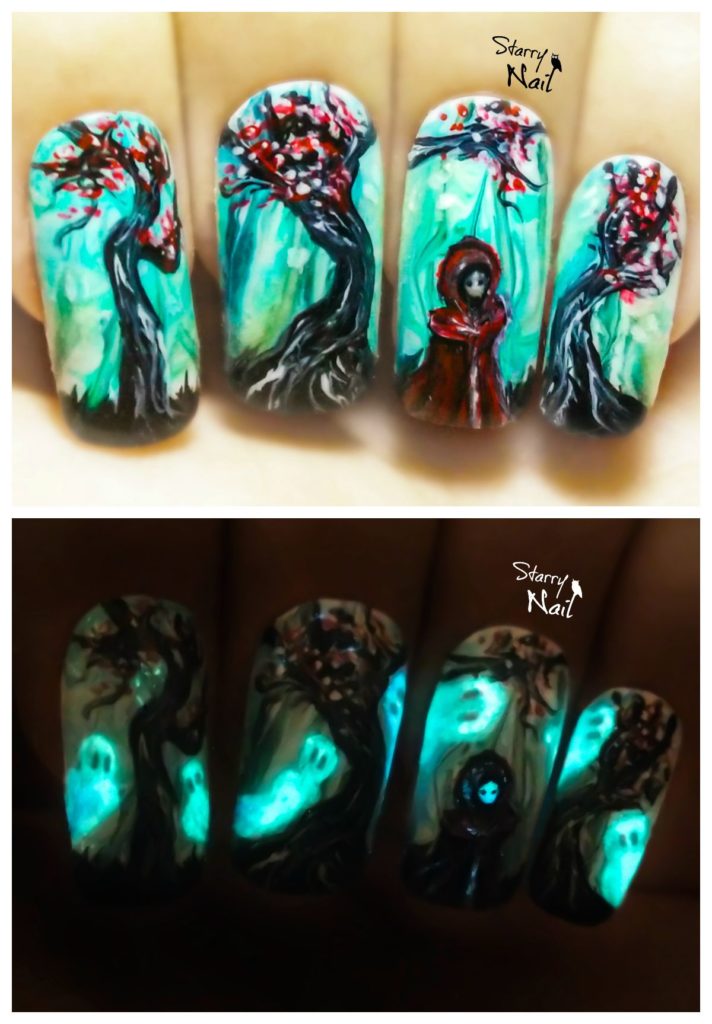
To make the base of ombré I used Blue Mosque (Colorama), Obsession (Risqué) and Risotto de Mandioquinha (Risqué), applied in a latex sponge (those of applying the base, you know?). The first layer looks very light.
- Apply as many layers as necessary until the nail is completely covered.
- It is important not to soak the sponge too much to make thin layers.
- I apply the enamels once on the sponge and squeeze the 5 nails.
- Blow a little to dry and repeat the application.
- It took 5 layers to achieve the following effect:.
With black enamel, do some English. It doesn’t have to be very straight, because it will be the “Sun” of the drawing.
With a fine brush, start making tree stems with black enamel
Make the branches random. I think if I’d made it thinner, they’d have been better, but that’s fine. • Ficaadica. Apply a layer of top coat and clean around the nails. Some girls put duct tape around their nails to make their skin get less dirty?I’m lazy, I’d rather cleanse the skin at once, but it suits everyone, right??!
I think it was very useful, wasn’t it, or am I too eccentric?Hahahaha
Does anyone have any other suggestions for other models I’ve seen?
To follow my work further, see:
Instagram: @melissagmenezes